
At some point it will become all too necessary to divide and repot that specimen Orchid you’ve been cultivating for years or any plant that has outgrown its pot and has chosen to attach itself to your growing bench instead. For the purpose of this article, I’ll discuss dividing and repotting Orchids that are Sympodial or that produce new growth (or leads) along a rhizome, i.e. Cattleya, Dendrobium etc.
The best time to divide and repot an Orchid is in the early spring, or in some cases, whenever you notice new growth emerging. Dividing and repotting during a time when roots are actively growing ensures each division will reestablish itself quickly. Although a single pseudobulb along with its leaf is capable of producing growth, it could take several years before the plant is able to bloom, consequently when dividing select at least 3, preferably 4 pseudobulbs and leaves for each division.
To Begin
Remember to always employ the use of a sterile cutting tool for each and every cut! Typically, removing the plant from its pot is the most difficult task, since roots will cling tenaciously to the inside of the container, it may even be necessary to break the pot to extract the plant. Once extracted, carefully remove all old and decomposed potting material, and pry apart the root mass…not for the faint of heart, but entirely necessary for the survival of the plant!
Next divide the plant into the 3 or 4 (or more) pseudobulb divisions, as noted above, and remove any dried, rotted or extremely long roots as they will undoubtedly be broken in the repotting process anyway. This is also a good time to inspect each division for insect infestation and removal of the dry, papery sheath from the pseudobulb. I will have a bucket of water with a teaspoon of disinfectant on hand and will vigorously agitate the plant and roots in the solution to clean the division. Allow the plant to dry a few hours then begin the repotting process.
Home Sweet Home
Decide on your container, clay, plastic, clear, translucent, slotted, the choices are numerous and boils down to your own preference. Choose a container that will accommodate the plant without over potting. Place a few Styrofoam peanuts in the bottom of the container, then with one hand suspend the plant in the container, while filling the pot with potting material with the other. As is the case with pots, the choices of potting materials are just as varied. Pack the potting material in and around the roots until the plant can stand by itself, in the center of the pot, without wobbling. This is especially important in order for the plant to produce strong roots and stabilize itself. If the division lacks sufficient roots a potting or rhizome clip should be used. The rhizome should be level or slightly below the potting material. Keeping the plant slightly shaded, while withholding water until growth begins will help the plant adjust all that much faster.
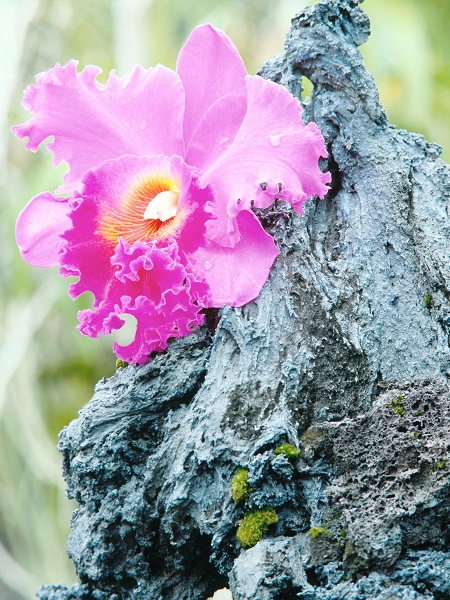
“Mounting” your Orchid Division
Potting is not necessarily the only option after dividing your plants. In my own collection, if the plant grows as though it wants out of a pot no matter what, then onto a “stick” it goes, where it can ramble to its hearts content. If I could, I’d have every plant in my collection on some type of mount, as the plant looks much more natural and at home that way. With that said, first select some sort of mount for the plant to grow upon. The choices vary based upon availability and preference. Essentially any hard wood will suffice, such choices might include grapevine (remember never use any fruit wood whose fruit contains a pit, Apple, Peach etc.) redwood shingle, Cork, clay shards etc.
After you have made your selection attach your plant to its mount, then place damp Sphagnum moss around its roots and secure with wire or rain gutter screen guard (which I find works well). In a recent AOS (American Orchid Society) ORCHIDS bulletin, an article mentioned using everyday carpet padding as a replacement for the Sphagnum moss, as it consists mainly of foamy, sponge like pieces which hold just the right amount of moisture and allow the roots to grow through it. Naturally, I had to try the method with one of my plants and voila! It works beautifully!

Have fun with this “one on one” approach with your plants and consider sharing excess divisions with other Orchid friends…spread the word and the plants!
Did You Know?
It can take at least 7 years for an Orchid to reach blooming size from a seedling? Not including the 6 to 8 months required for the seed pod to mature after the flower is pollinated!
Happy Growing!
Tom Capranica has been a hobby collector and hybridizer of Orchids for over 20 years, and an active member of the American Orchid Society (AOS) for about the same length of time. He grows his Orchids in a 450 sq. ft. climate-controlled greenhouse, containing over 300 plants of various genera, primarily Cattleya.
Related Articles & Free Email Newsletter
4 Mistakes to Avoid with Dendrobium Orchids
Natural Mite and Pest Control Options for Your Orchids
Subscribe to our Free Email Newsletter

Comment here