
Making a homemade flower press is a fun and easy DIY project that can help preserve the beauty of your favorite flowers. Follow these simple steps to make one.
Materials
- 2 pieces of cardboard, each measuring 9 x 12 inches
- Several sheets of blotting paper, cut to size
- Several sheets of parchment paper, cut to size
- Four rubber bands
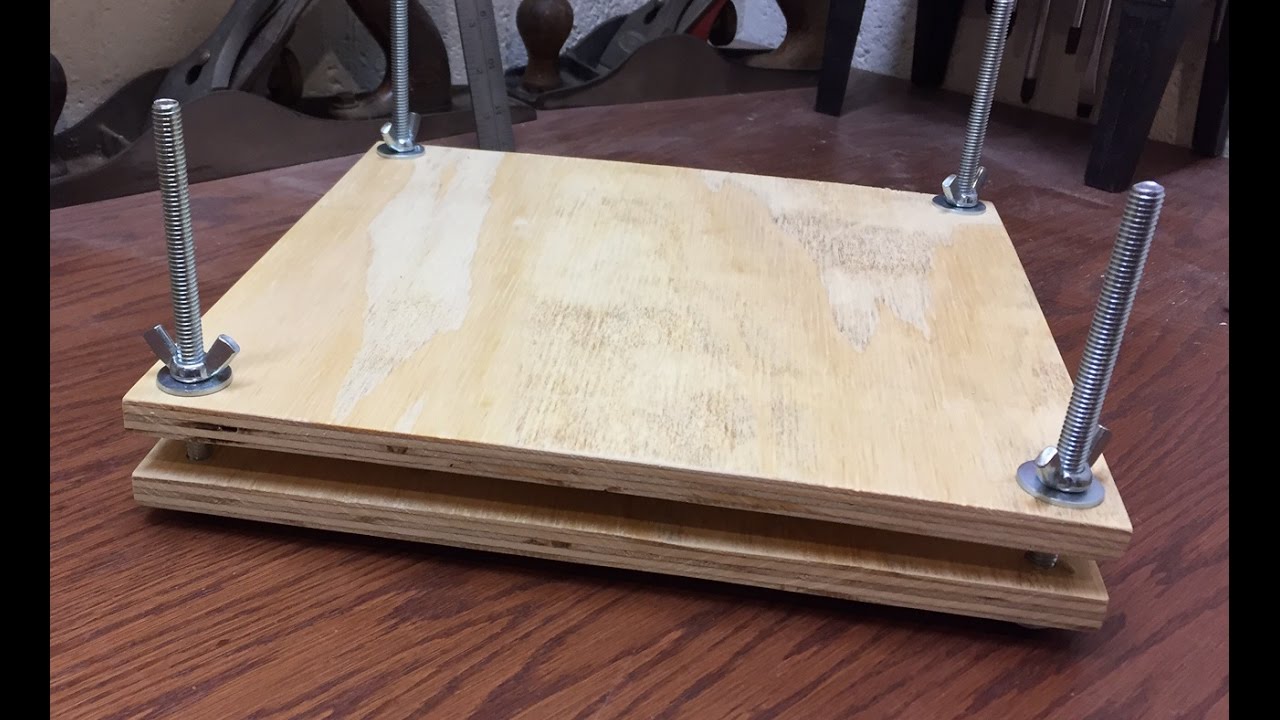
- Two pieces of wood, each measuring 9 x 12 inches
- Screws and a screwdriver
Instructions
- Take your two pieces of cardboard and cut them to size. They should each measure 9 x 12 inches.
- Cut several sheets of blotting paper and parchment paper to the same size as the cardboard.
- Place one piece of cardboard on a flat surface, then lay a sheet of blotting paper on top of it. Next, lay a sheet of parchment paper on top of the blotting paper.
- Arrange your flowers or leaves on the parchment paper, making sure they don’t overlap.
- Add another sheet of parchment paper on top of the flowers, followed by another sheet of blotting paper.
- Place the second piece of cardboard on top of the stack and secure everything together with rubber bands. Place one rubber band on each corner of the stack.
- Place the stack between the two pieces of wood and screw the wood together. You want the screws to be tight enough to compress the flowers, but not so tight that they crush them.
- Let the press sit for a few days until the flowers are completely dry and pressed. You can then remove the flowers and use them for crafts, scrapbooking, or other projects.
That’s it! With a few simple materials, you can create a homemade flower press that will help you preserve the beauty of your favorite flowers for years to come.
Related Articles & Free Email Newsletter Sign Up
How to Build a Simple Potting Bench
How to Make Your Own Organic Potting Mix
Comment here