
In addition to daily maintenance there are also several important maintenance tasks that need to be completed every 2 weeks or so. But first let me clarify a point about pH.
It is true that pH will gradually change over time in your nutrient solution and is at risk of sliding over the plant tolerance threshold but do not worry about it too much. When you start with fresh nutrient solution that is close to neutral (7.0 pH) you will be fine as long as you replace evaporated nutrient solution with water on a daily basis and you perform the ‘2 week task list’.
Once established, a hydroponics system can virtually run itself. Still, there are tasks that are needed done every couple of weeks.
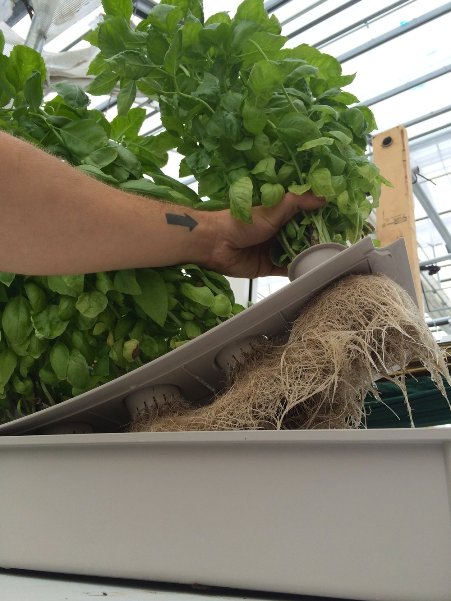
First, if you have a hydroponics system with dangling roots, such as a passive or NFT growing system (and even some ebb and flow types) it would help to trim the roots back so they do not clog pipes or channels through which nutrient solution must flow. This will not hurt the plant provided you only trim a little.
Now for the biggest task of all: every 2 weeks completely replace the nutrient solution. This needs to be done because not only do the nutrients get used up, the pH of the solution slowly changes as it continually runs through pipes and growing mediums. Letting it go would probably be a bad situation for you and your plants.
To do this, unplug the electrical connection (if you have such a system) turning the whole thing off. If you are growing in a system with no growth medium, wrap the roots of each plant in a damp paper towel while you work. Dump the old solution by using it in your dirt garden or on your indoor plants. This solution is still jam-packed with nutrients so whatever you water with it can only prove beneficial.

Now you need to flush the hydroponics system. Over time as the nutrient solution flows through your system, small amounts of mineral salts will accumulate and eventually reach a toxic level dangerous to your plants.
To do this just suspend the input and output tubes into the empty nutrient container (with the pump unattached), close the valve of the input connection and fill the system with fresh water directly onto the growing medium flooding the entire growing medium. Open the input valve allowing the water in the growing container to pour out into the nutrient container. Dump the water and repeat this procedure and you are done flushing.
Disconnect and wipe down the connecting tubes, aquarium bubbler, pump and the inside of the container. It will be slick with a little harmless scum so just get rid of this stuff. Do not use soap or any kind of chemical because the residue may be enough to kill your plants.
Now add tap water to a predefined level that you have marked off on the nutrient container to a specified number of gallons, add nutrient fertilizer (my fertilizer strength is 1 teaspoon per gallon of water), reattach hoses and plug back in. This process may sound like a long, labor intensive task but it is actually very easy and can be done fairly quickly.
You may ask if the newly added fresh water should be a certain temperature. I have not found that to matter very much at all and I do not pay much attention to it other than trying to keep the new water relatively close in temperature to the old nutrient solution. I do this by ‘feel’ so I am certainly not being too accurate and I have not had any problems.
Larry Maki is an avid, self-taught hydroponics gardener from Connecticut with a passion for alternative types of gardening.

Comment here