
Building a shelf for a greenhouse is a simple project that can help maximize your space and provide a convenient place to store pots, seeds, or other gardening supplies. Here’s how to build a basic greenhouse shelf:
Materials
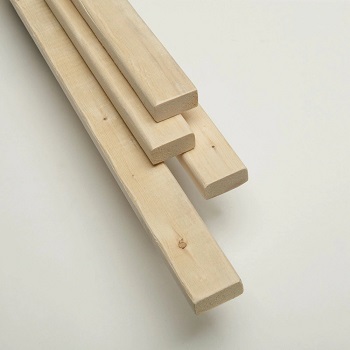
2 pieces of 1×10 inch boards, cut to the desired length.
4 pieces of 1×2 inch boards, cut to the desired height.
Wood glue
Nails or screws
Sandpaper
Instructions
Cut the Boards
Cut two pieces of 1×10 inch boards to the desired length. These will be the shelves. Cut four pieces of 1×2 inch boards to the desired height. These will be the supports.
Assemble the Supports
Apply a line of wood glue along the top edge of each 1×2 inch board. Position the boards vertically along the back and front edges of the shelves, making sure that the top edges of the 1×2 inch boards are flush with the top of the 1×10 inch boards.
Secure the Supports
Drive nails or screws through the 1×10 inch boards into the 1×2 inch boards to secure them in place.
Sand the Shelf
Use sandpaper to smooth out any rough spots or edges.
Install the Shelf
Use screws or brackets to attach the shelves to the greenhouse wall. Make sure that the shelves are level and securely fastened.
Your greenhouse shelf is now ready to use. You can use it to store pots, seeds, and other gardening supplies, keeping your greenhouse organized and clutter-free.
Related Articles & Free Email Newsletter Subscription
4 Things You Need to Know Before Building a Greenhouse
Good Options for a Beginner Greenhouse
Comment here