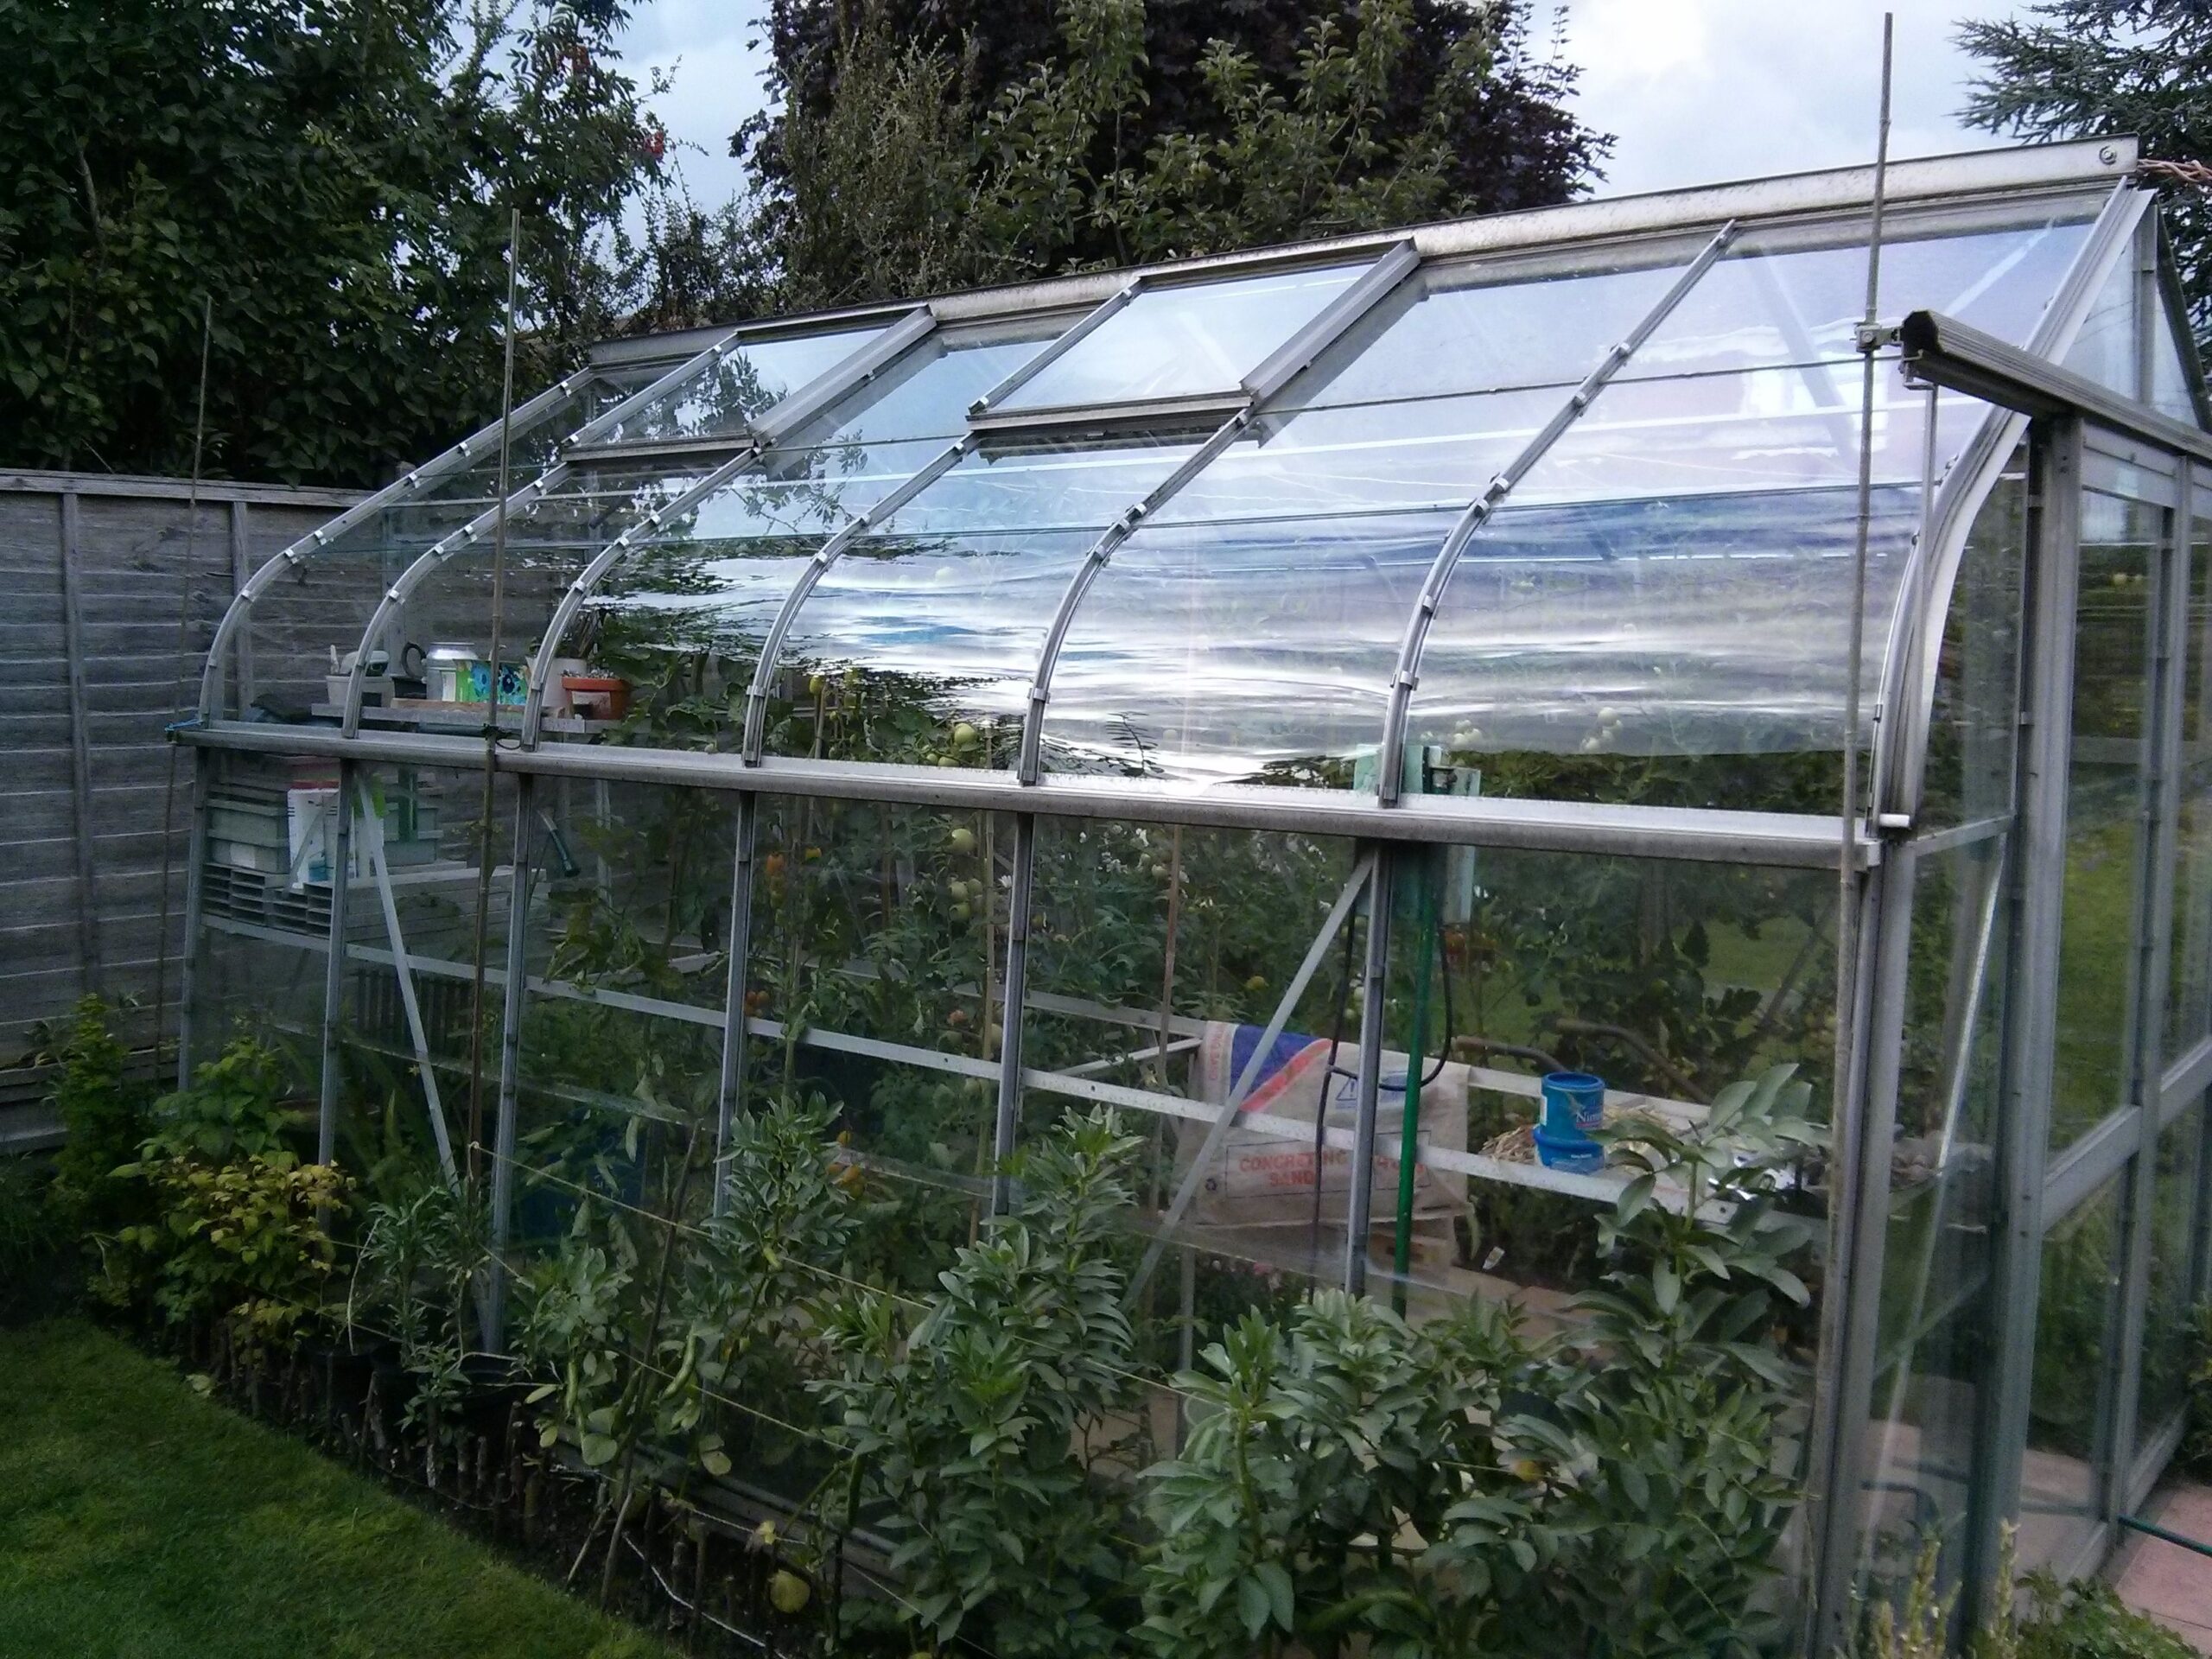
Buying polycarbonate can be a difficult purchase because of the volume of choices available to you and the necessity for purchasing additional accessories that may not necessarily be intuitive for the average consumer.
It’s really simple though if you think about it this way. You are going to need the covering of course, so you need to accurately size the sheets and their coverage area. You’ll need a way to join the panels together to make them water tight. And you will need some fasteners to secure them to your structure. That’s it. Each of these can be done a few different ways.
Coverage Area
This is the easiest one. Let’s take a 10’W x 12’L pavilion type structure for as a simple example. First, let’s figure how many panels it’s going to take to cover the length of the structure. Polycarbonate panels, with a couple exceptions, come in either 4’ or 6’ widths. The panels must be run with the “ribs” running in a vertical orientation. On a roof this means the ribs need to be running from peak to eave and not from end to end.
So covering a 12’ wide roof with 4’ wide panels would require 3 panels to cover it from end to end. The same roof would need just 2 panels in a 6’ width.
To figure the length of the panels themselves, all you need to do is measure the distance from the peak, or top, of the structure to the eave, or the point where the roof meets the sidewall. In our example, the building is 10’ wide, so let’s say the distance from peak to eave is 11’ because of the slope of the roof. Your panels would need to be 11’ long.
In this example you would need either, 6-4’ x 11’ panels or 4-6’ x 11’ panels to fully cover the roof.
Trim Pieces
This is probably the most complicated portion of any polycarbonate project. You are absolutely going to need a way to join adjacent panels, and there are two ways of doing this. You can use two piece aluminum trim, which we call Aluminum Glazing Bar Base and Cap, respectively. Or you can use clear plastic trim piece that we called 2-piece plastic H profile. There are advantages and disadvantages to both.
Aluminum Glazing Bar and Cap
- Product price is less than plastic trim pieces.
- Durable aluminum.
- Typically shipped via standard ground service only in 8’ lengths.
- Pieces can be butted together and sealed to create longer piece.
- Lengths longer than 8’ must go motor freight.
- Usually comes from different location than polycarbonate, so any motor freight charge would be additional to that of the polycarbonate itself.
- This separate shipping charge makes pieces longer than 8’ similar in price to plastic trim.
- Requires screws to fasten Aluminum Glazing Bar Base to structure and to fasten Glazing Cap to Bar.
2-Piece Plastic H-Profile
- Typically ships via standard ground service in 6’ lengths.
- Pieces can be butted together and sealed to create longer piece.
- Ships from the same location as polycarbonate, so lengths longer than 8’ can ship right along with polycarbonate.
- Attractive clear plastic.
- Requires screws only to secure base to structure.
- Cap snaps onto base piece.
Because of the plastic trim’s higher price and the aluminum trim’s separate shipping charge, when ordering lengths longer than 8’ the total price for each is comparable, though not exact. Both methods are excellent for joining panels, and the ultimate decision does come down to a bit of personal preference. For reference, we typically provide aluminum trim for all of our buildings.
In addition to joining panels you may choose to trim the top, bottom, or sides. There is also an aluminum and plastic version of this trim as well.
Aluminum U End Cap
- Properties are similar to the Glazing Bar and Cap
Plastic U Profile
- Properties similar to Plastic H Profile.
- Plastic U is less expensive in comparison to aluminum U.
Additionally, some people choose to flash the top, bottom, or sides with aluminum flashing. This is particularly true of the ridge on a roof. This method is acceptable as well.
Fasteners
This part is pretty easy as too, however you must make sure you purchase the fasteners for your specific structure type. There are screws designed for both wood and steel structures. They need to be purchased accordingly. The fasteners you need are as follows.
- Screws to attach trim to structure, designed for either wood or steel frame.
- Screws to attach polycarbonate panels to frame, designed for either wood or steel; these penetrate the panel and secure to the frame material.
- Optional spacers to elevate polycarbonate panel from frame; helps prevent condensation drippage.
- Screws to secure aluminum glazing cap to base; ½” screws.
You may also choose to purchase top sealing aluminum tape and/or bottom sealing porous tape. That decision is yours, although we recommend the top sealing tape in most instances and the bottom tape when the panel location is a sidewall, and especially if the panel rests on or in the ground (as opposed to a trim piece of some sort).
It may seem like a lot to account for, but sizing up a polycarbonate job is really no different from any other standard household job. You simply need to ensure you have the right materials.
Drew Landis is Social Networking Coordinator for an online greenhouse retailer.
Related Articles & Free Email Newsletter
The Good and Bad of Glass Greenhouses
Understanding Greenhouse Materials


Comment here