Most people clean in the spring, but I prefer fall cleaning in the greenhouse. Growing is in full swing during spring, and I do not have time to stop and clean. Fall is my downtime in the greenhouse, and this is when I complete a thorough cleaning. A yearly cleaning does wonders for the greenhouse. It is amazing what can accumulate in a year’s time. Until you actually clean, it’s not apparent how dirty the greenhouse has become. Discussed below are my recommendations for cleaning the greenhouse.
Grab the Hose
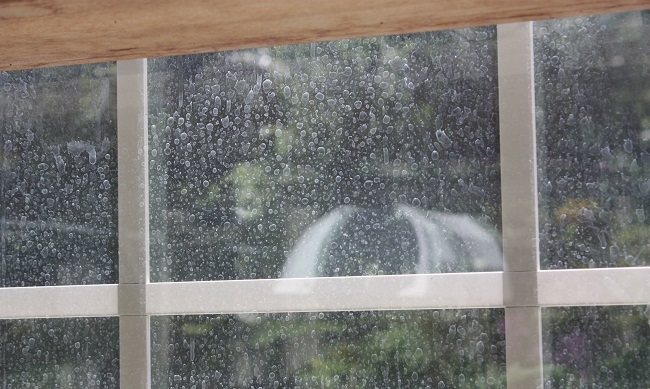
Greenhouses are filled with potting soil and compost. Soil falls out of the containers, onto the floor, onto the benches, and hits the windows. Before I even start to clean, I set the hose to my jet setting, and spray like a wild woman. I power wash the windows, frame, benches, and flooring. This breaks apart soil that has built up in the last year. Any remaining soil is now soft enough that I can clean it with a towel. I start the real cleaning with the frame and glass.
Soil does not harm the glass, but it does obstruct visibility. In time, compressed soil and sprays, from fertilizers and pesticides, will harm the greenhouse frame. Chemicals will corrode the framing and any number of products will work fine for cleaning it. Common Windex will make the windows sparkle, and a liquid dish detergent will remove dirt from the frame. I use an environmentally friendly, homemade mixture for the windows. Applied with a sponge, I use 1 gallon of water, 2oz. of vinegar, and 2 drops of dish detergent. Adding more detergent will make the water too sudsy, leaving streaks on the glass. The solution is removed from the windows with a squeegee, and the glass is clean. Rinsing the windows after the squeegee will only add more streaks to the windows.
I only use mild detergents on the frame; if it is safe for your hands, it is safe for the framework. Soil and debris will be removed by the detergent. To remove silicone that has built up, I use a razor blade. Any heavier stains can be cleaned with Muriatic acid, using a diluted solution that is under 10%. This product is available in hardware stores and online.
Don’t Forget the Windows
While you are working on cleaning the frame and glass, take time to operate all your windows, doors, and vents. Make sure each one opens properly and add a drop of two of lubricant if it is needed. This is also the time to hose down the screens in your windows and vents. Insects tend to get trapped, and the hose will remove all unwanted pests. The tracks of your doors and windows will also need attention. Dirt and insects get trapped in them, so I use a vacuum attachment with a thin diameter to clean out the debris.
The Benches and Shelves are Next
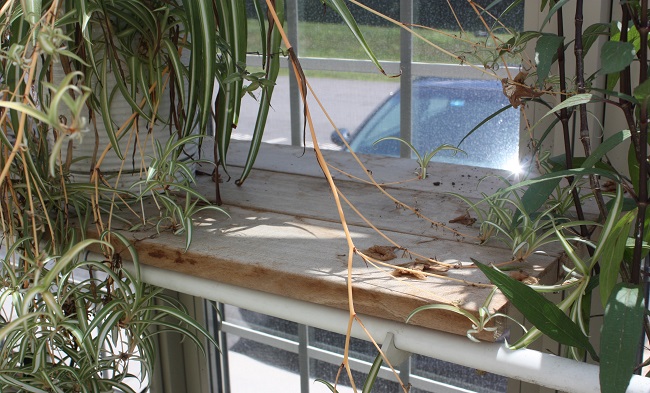
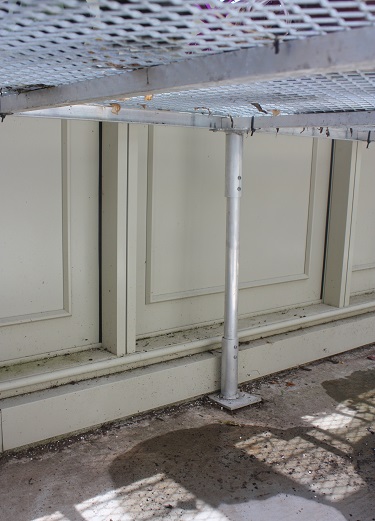
After the greenhouse frame is cleaned, I focus on the benches. Soil always seems to be trapped in the corners of the bench frames. Each bench system is different, but all benches harbor soil. Remove all the plants from the bench tops. Again, all you need is a hose and a bucket of hot soapy water. If the bench top can be removed, take it off for a thorough cleaning. Then wash down all the legs and frame tops. Let the benches completely dry before returning the plants. Many greenhouses have shelves, and do not forget to clean them. They might be taller than you, so get up on a ladder and give them a good cleaning. Chances are good they will not be cleaned again until next year (at least this is the case in my greenhouse).
The Floor Needs Help Too
After the water from the benches has hit the floor, I change gears and clean the flooring. The method of cleaning will vary depending on what type of flooring is in your greenhouse. If you have gravel or pavers, you may want to consider adding more stone. These floors tend to break down, and mud can become a problem. Another tip with a loose floor is to pull the weeds. Under the benches and behind large plants there are sure to be weeds growing through the rocks. Depending on available time and finances, a weed barrier could be considered.
Solid floors like concrete, tile or vinyl will also need to be cleaned. I have a concrete floor in my greenhouse and always have algae growing. Other friends of mine have funguses and mold which lives in the dark corners of a greenhouse. I start cleaning by removing all the plants, tools, and flowerpots off the floor. Then I sweep the floor, collecting all debris. The jet setting on the hose is used again and sprayed into the corners and ledges of the greenhouse. The actual cleaning will depend on how mobile you are. I am still able to get down on my knees and scrub the floor with soap. Bleach can be used if you are not worried about environmental concerns. Dish detergents and various soaps can be eco-friendly. They work well when poured onto the floor, allowed to soak for a minute or two, and then hosed or scrubbed. It is amazing to see how clean the floors can be.
The Accessories
Any growing accessories you have should be inspected and cleaned. You may have a misting system, drip line, grow lights, shade system, fogger, humidifier and heater, all of which need a yearly inspection. Water systems are usually maintenance free, but it is a good idea to inspect them and clean the nozzles and tubes if it is needed. This will remove mineral build-up’s which could potentially reduce the amount of water that flows.

Grow lights are common in greenhouses and are fairly maintenance free. Turn on the lights and check the bulbs. Most specialty bulbs will last up to two years, depending on use. When replacing a bulb, it is a smart idea to put a label on the housing with the date, so you know how old the bulb is. With use, a grow light bulb will decrease in brightness. Even if it is shining bright, after two years, you may want to consider replacing it. A damp cloth will adequately remove any soil from the light’s housing.
Shading systems will all vary between models. The tracks should be inspected for soil and insect collections. Vacuuming the tracks or power washing will remove the residue. Visually inspecting any draw strings or pole operators will spearhead any future problems. Humidifiers and foggers house algae. Water is constantly passed through the unit causing the grille on the front of the piece will collect algae. Soap, water, and a little elbow grease will remove this problem. Checking the heater will be paramount for fall. If you grow plants during the winter months, your heater needs to work. Turn it on, and make sure the unit generates heat. Make sure the temperature settings are in line with your plants’ requirements. A cleaning of the housing and vent is recommended. If the heater runs by propane or oil, check your levels, making sure you have fuel.
Last Stop
The last thing that I like to complete in the greenhouse is a cleaning of my flowerpots. This is one of my weakest areas, but it needs to be completed. Pests and fungi can grow in the flowerpot, long after a plant is removed. I typically have excess flowerpots to begin with from buying new plants all summer. I go through my collection and recycle the ones I do not need. Then I wash the containers with soap. Letting each pot dry completely is key. After all these items are cleaned, checked, and maintained, you can bring back the plants and start growing again.
Lyndsey Roth is an experienced gardener and greenhouse grower.
Related Articles & Free Email Newsletter
How to Create a Plan For Your First Greenhouse
Knowing When and How to Re-Pot a Plant
Subscribe to our Free Email Newsletter

Comment here